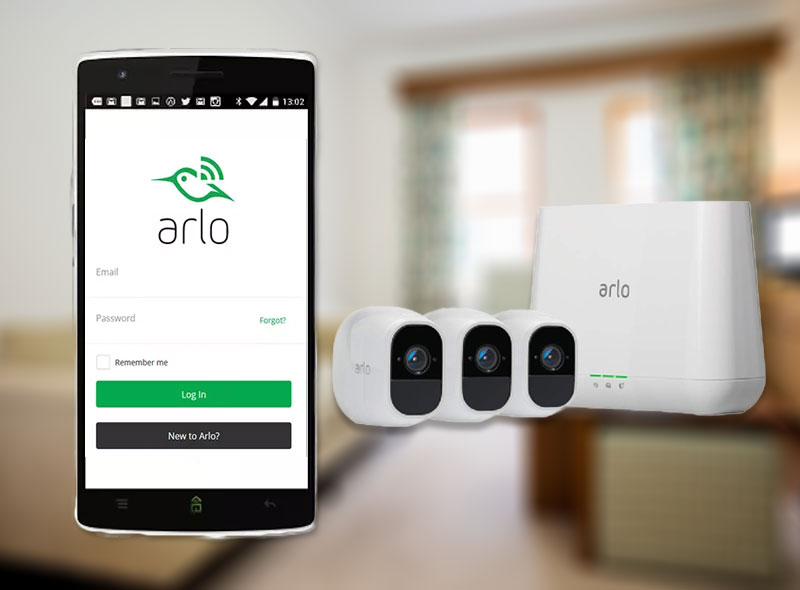
How to Login Arlo Camera
Guide to Accessing and Using Your Arlo Security Camera System
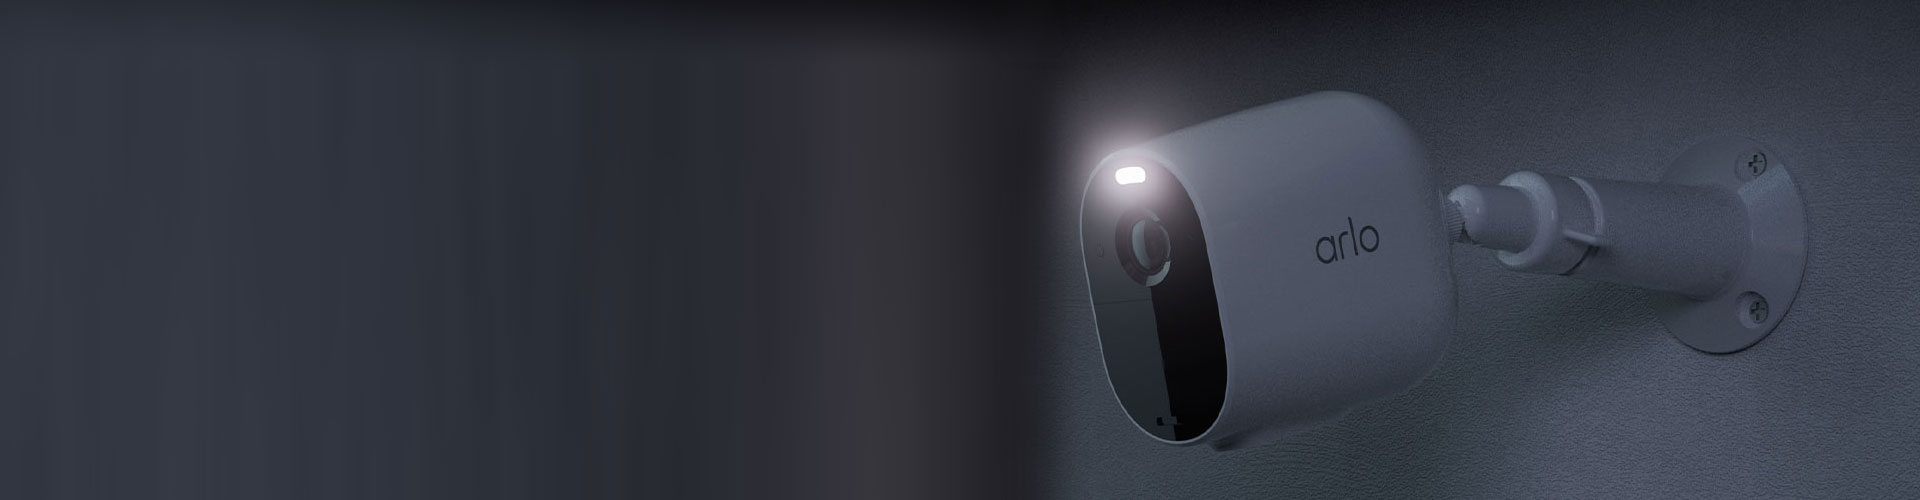
Home security cameras like Arlo allow homeowners to monitor their property remotely using mobile apps and web interfaces. With clear video footage and smart features like motion detection, night vision, and mobile alerts, Arlo Camera Login provides peace of mind.
This guide will walk you through the entire process of setting up your Arlo account, installing Arlo devices, connecting to the base station, and accessing camera feeds – everything you need to start leveraging these powerful home security tools.
Creating and Accessing Your Arlo Account
The first step in using your Arlo cameras is to create your Arlo account.
- Go to My.Arlo.Com Login and select the “Create Account” option.
- You’ll need to provide basic personal information and accept Arlo’s Terms of Service.
- Once your account is created, you can download the Arlo app on your smartphone or tablet. This will allow you to access live camera feeds, recordings, and system settings anywhere you go.
- On a computer, you can log into your Arlo account by going to My.Arlo.Com Login and clicking “Sign In.”
- Enter your account credentials here to view and manage your cameras through the web interface. Whichever platform you use, be sure to keep your Arlo username and password safe.
Please Note: Enabling two-factor authentication is recommended for enhanced account security.
Setup Arlo Account: Steps To Follow
With your account created, it’s time to set up your Arlo devices. The first component you’ll need is the base station, which connects your cameras to your home Wi-Fi network and allows for remote access.

Installing and Positioning the Arlo Base Station
Begin by determining the optimal location to install your base station.
- It should be relatively central in your home to maximize Wi-Fi range.
- The base station should also be placed in an open area for good ventilation.
- Use the included power adapter to plug in your base station and turn it on using the power button.
- Once powered on, use the included Ethernet cable to connect the base station to your home router if you want a wired connection. This can provide faster and more reliable performance compared to a wireless setup. The base station’s LED will blink white while connecting to the internet.
- If connecting wirelessly, simply ensure the base station is within range of your Wi-Fi network. Open the Arlo app and select “Add New Device.”
- Follow the on-screen instructions to connect the base station to your Wi-Fi. If the LED blinks amber, the base station is connected properly.
Syncing and Mounting the Arlo Cameras
- With the base station online, it’s time for Arlo Camera Login and Installation. Begin by charging each camera fully – this ensures they will remain powered after mounting.
- Next, determine optimal mounting locations. For outdoor cameras, choose locations with a clear, unobstructed view of areas you want to monitor.
- The cameras should be within 300 feet of the base station for reliable connectivity.
- To sync each camera, press the Sync button on the base station until the LED blinks blue.
- Then press the Sync button on the camera until the LED blinks blue.
- When properly synced, the camera LED will blink blue every few seconds. Sync each additional camera using this same process.
- Now you can mount the cameras using the included hardware. For indoor cameras, the stand can be placed on any flat surface.
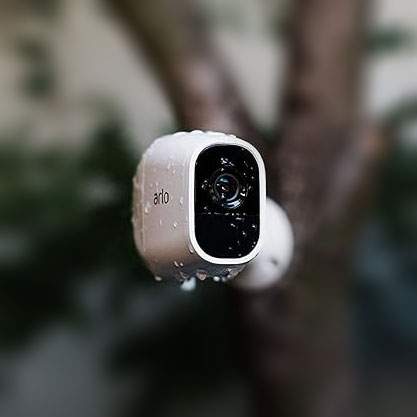
- Outdoor cameras should be securely mounted in a weather-protected area. Adjust the camera angle as needed once mounted.
- The camera LED will glow blue when actively streaming video.
Connecting Cameras to Wi-Fi with Arlo App
With cameras installed, the final step is connecting them to your Wi-Fi network using the Arlo app.
- Launch the Arlo app and select “Add New Device”
- Press the Sync button on the base station until LED blinks blue
- Press the Sync button on the camera until LED blinks blue
- The camera will show up in the app – select it to begin Wi-Fi setup
- Select your Wi-Fi network and enter password
- The camera LED will flash amber during setup then turn solid blue when connected
Repeat this for any additional cameras, and your security system is now fully configured! Cameras will be visible in the Devices tab within the Arlo app and web interface.
Accessing Your Arlo Security Camera Account
Arlo allows you to view and manage your home security cameras through both mobile apps and a web browser. Here are the steps to log into your Arlo account:
Using the mobile app:
- Download the Arlo app on your iOS or Android device.
- Open the app now.
- Tap the profile icon in the upper left corner.
- Provide email details associated with this account.
- Enter your account password.
- Tap for Arlo Camera Login. This will log you into the app to access your live camera feeds, recordings, and system settings.
Using a web browser:
- On your computer, go to My.Arlo.Com Login.
- Click “Sign In” in the upper right corner.
- Enter your Arlo account email address.
- Enter your account password.
- Click “Sign In.” This will log you into the Arlo web interface to manage your security system.
Once logged in through the app or web browser, you’ll have full access to view live feeds, customize alerts and settings, playback video recordings, and control your Arlo security cameras. Just use the same Arlo login email and password on both platforms to sync access across devices. Keeping your account information secure allows you to monitor your home from anywhere.
Accessing Arlo’s Key Features and Customizing Your System
With your devices online, you can now take advantage of Arlo’s extensive features. Live streaming provides real-time views from each camera. Motion detection alerts can be customized per camera, so you’re notified only when it matters. Night vision ensures clear video 24/7.
Recordings from motion events and live streams are stored in the cloud for later viewing. Playback footage directly through the mobile app or web portal. Storage duration ranges from 7 to 30 days depending on your Arlo subscription plan. Plans start at $2.99 per month per camera.
Within the app or web interface, you can customize each camera’s settings to your needs and preferences:
- Motion Detection – Adjust sensitivity and create activity zones to reduce unwanted alerts
- Scheduling – Set armed/disarmed times and customize modes and rules for automation
- Video Settings – Change video quality, power management and other preferences
- Alert Settings – Toggle mobile push notifications for motion and other system events
Arlo also integrates with smart home platforms like Amazon Alexa, Google Assistant, Apple HomeKit and more for voice control and enhanced automation. Additional Arlo accessories further expand your security ecosystem with options like the Arlo Doorbell, Chime, Floodlight Cam, and more.
Conclusion
Arlo delivers flexible, user-friendly home security through wire-free cameras with intelligent features and crystal clear HD video. By following the Arlo Camera Login guide, you can get your Arlo system up and running quickly to start monitoring your property in vivid detail. Customizable alerts and remote access via mobile allow you to respond to activity in real-time for superior home protection. As a scalable and wire-free system, Arlo makes it easy to expand your coverage and integrate your security cameras into your smart home ecosystem. With this powerful wireless security solution, you can enjoy peace of mind knowing your home is protected 24/7.